Using the Rich Card feature in an RCS broadcast
You can now enhance your RCS broadcasts by adding Rich Cards, visually engaging and structured message layouts that help improve audience engagement. This feature lets you customize card attributes such as size, title, description, and orientation, as well as include broadcast actions like links and media attachments.
The new Rich Card layout gives you the ability to design and send visually rich content directly from the Conversation stepper in your RCS broadcasts.
Adding a Rich Card
To add a rich card:
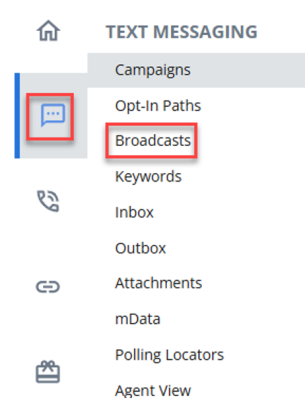
1. Go to Text Messaging>Broadcasts.
2. Click + NEW BROADCAST.

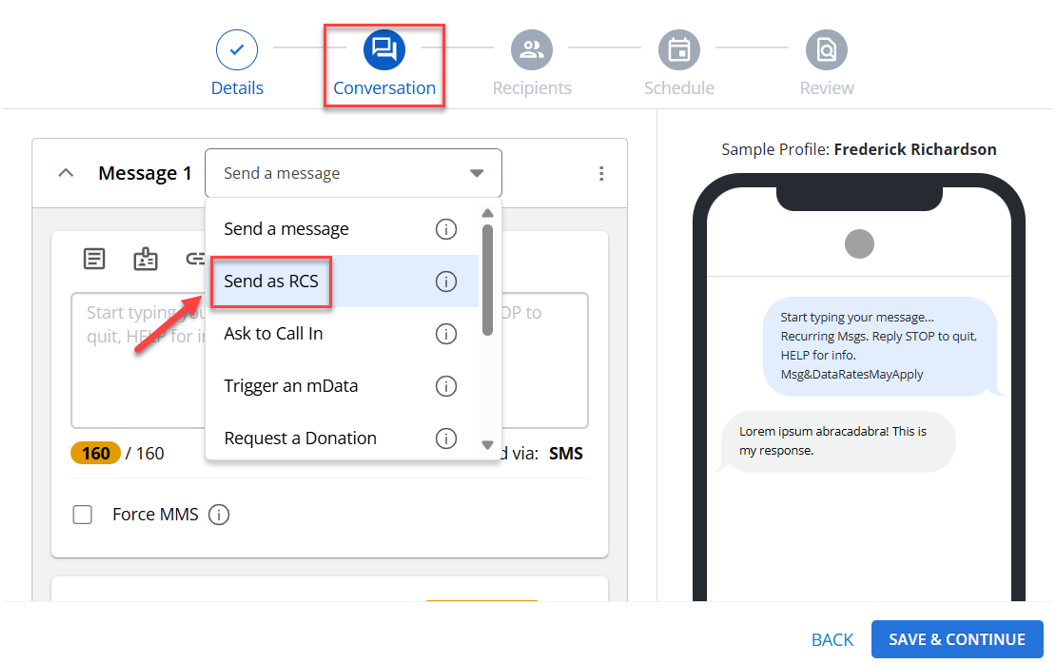
3. In the Conversation stepper, select Send as RCS.
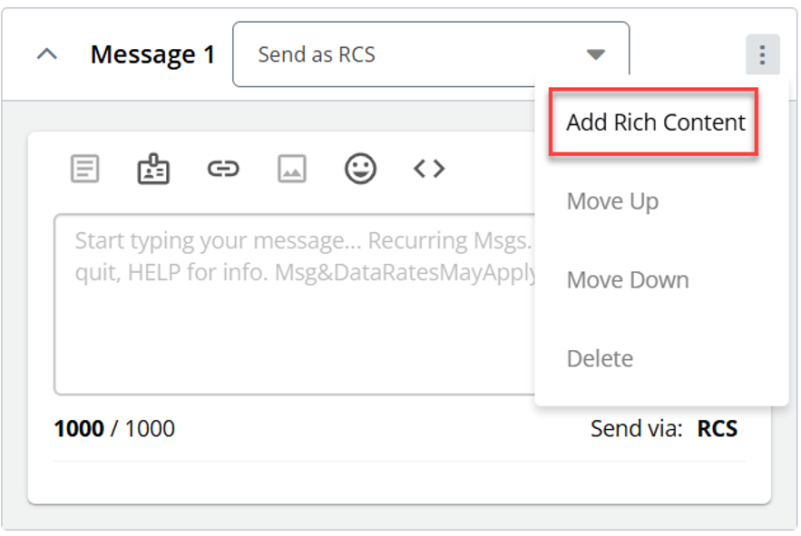
4. Within the message container, click on the Actions menu  (three vertical dots).
5. Select Add Rich Content from the Actions menu.
This opens the Rich Content modal.
6. In the Rich Content modal, select Rich Card from the available options. You can select only one option.
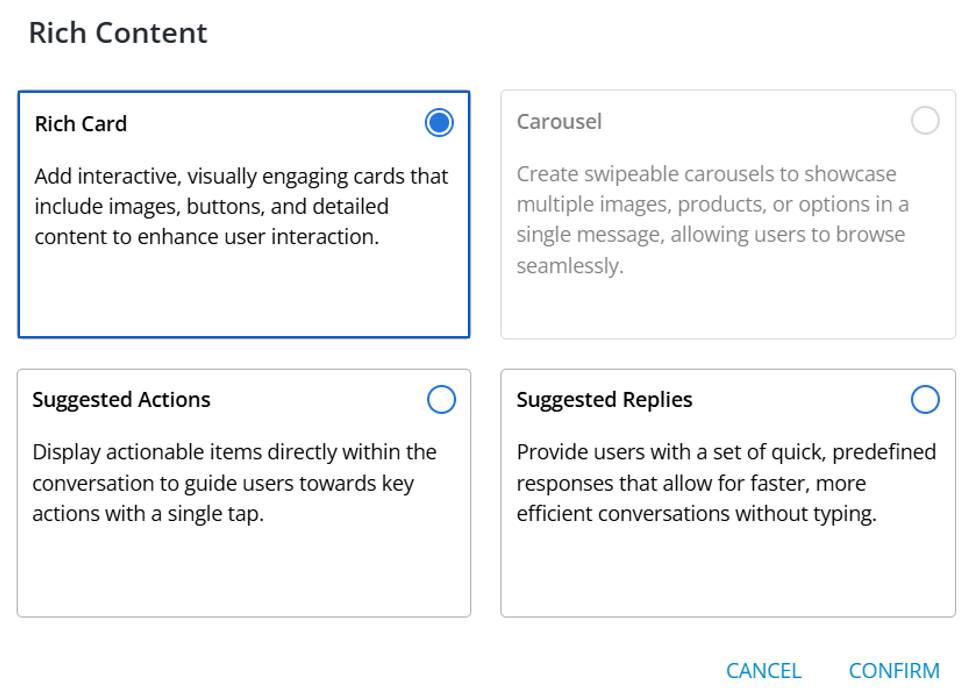
Select CONFIRM to proceed to the next step – Adding a Rich Card. A new layout titled “Rich Card” will be available within the Conversation stepper.
Note: The CONFIRM button is disabled when no option is selected.
Select CANCEL to close the Rich Content modal without saving any changes.
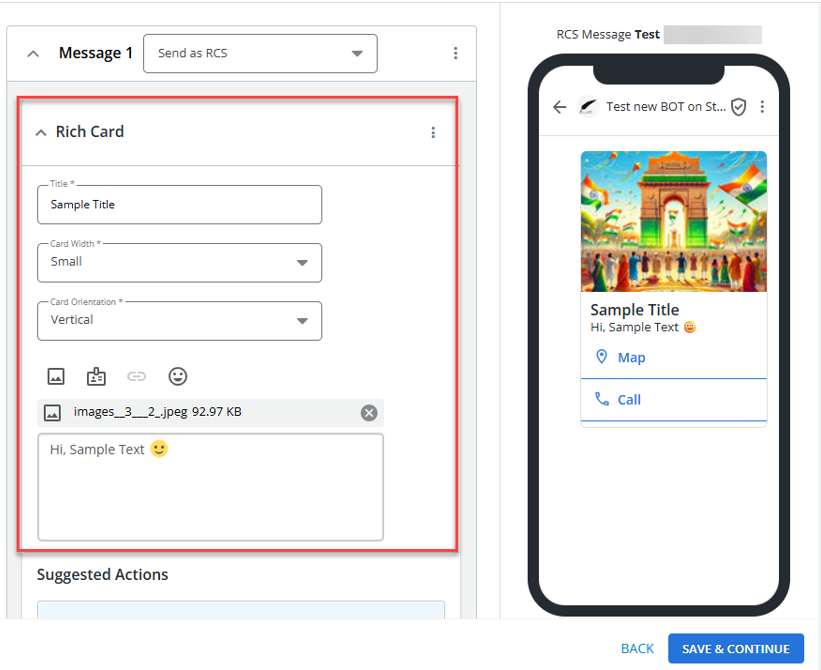
You can also see the configured rich cards displayed within the mobile preview of the Conversation stepper, to visualize how the rich card will appear to recipients before finalizing the broadcast. Any changes made to the rich card immediately reflects in the mobile preview. The mobile preview displays the rich card’s size, title, description, and the broadcast actions (for example, links, emojis, dynamic tags, and others within the card content).
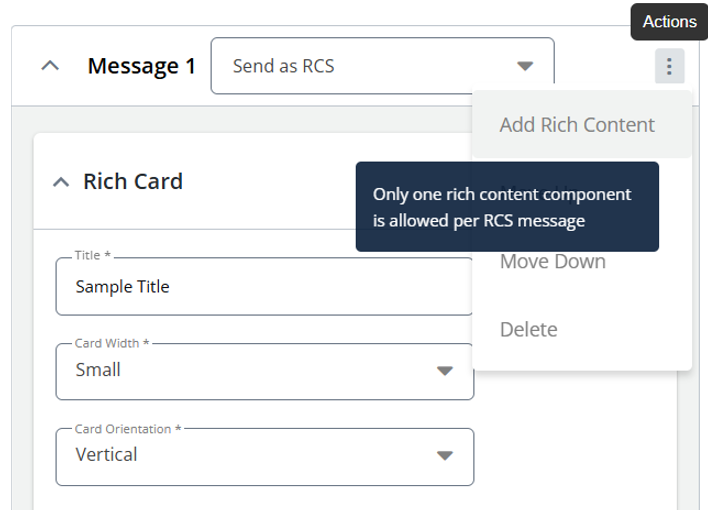
Note: Each RCS message supports only one rich content component. Once you’ve added Rich Content, the Add Rich Content option will be disabled. If you delete the existing rich card, the Add Rich Content option will be enabled again, and you can then add a new rich card.
The Rich Card layout has the following fields:
| Field | Description |
|---|---|
| Title (Mandatory) | Enter a title for the Rich Card (limited to maximum 200 characters). |
| Card Width (Mandatory) | Choose from Large, Medium, or Small (default). |
| Card Orientation (Optional) | Select Horizontal or Vertical (default). |
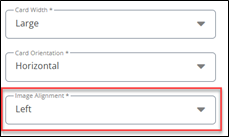
| Image Alignment (Optional) |
Select Left or Right. This field is only available when the Card Orientation is selected as “Horizontal”.
|
| Description (Optional) | Enter additional information for the rich card (limited to maximum 2000 characters). |
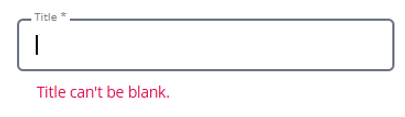
Note: An error appears if required fields (for example, Title, Card Width) are missing.
Within the Rich Card layout, you can add:
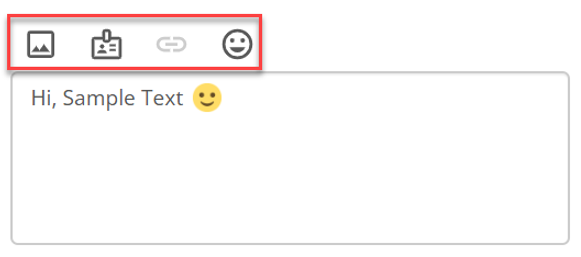
• Dynamic Tags : Insert personalized tags.
• Attach Media : Add media. The “Attach Media” option allows you to add only one file at a time.
The following are the image specifications for a Rich Card:
-
Horizontal Rich Card:
-
Fixed image width: 128px
-
Image height automatically adjusts to fit the card height.
-
-
Vertical Rich Card:
-
Fixed image height: 150px
-
Image width:
-
Small: 180px (fixed)
-
Medium: 296px (fixed)
-
Large: Scales to fit the mobile screen width.
Only the following RCS-supported file formats are available for selection in the My Gallery modal:Images: .jpeg, .jpg, .gif, .png, Videos: .mp4. Other formats, such as .3gp and .vcf, are not supported by RCS. -
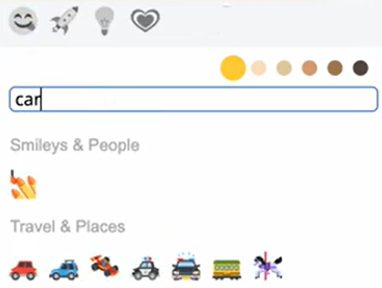
• Insert Emoji  : Enhance tone with emojis.You can also use the search bar in the emoji picker to quickly find the emoji you need, making it easier to browse and insert emojis within the editor. Click the selected emoji to attach an emoji to the message.
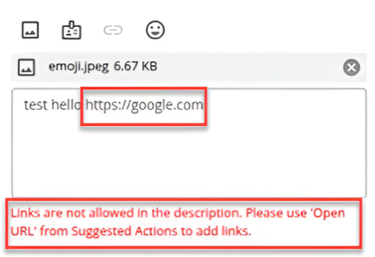
When configuring a rich card, you cannot add links directly in the message body. Any links you insert will be automatically converted into plain text. Use the Open URL option from Suggested Actions to add links.
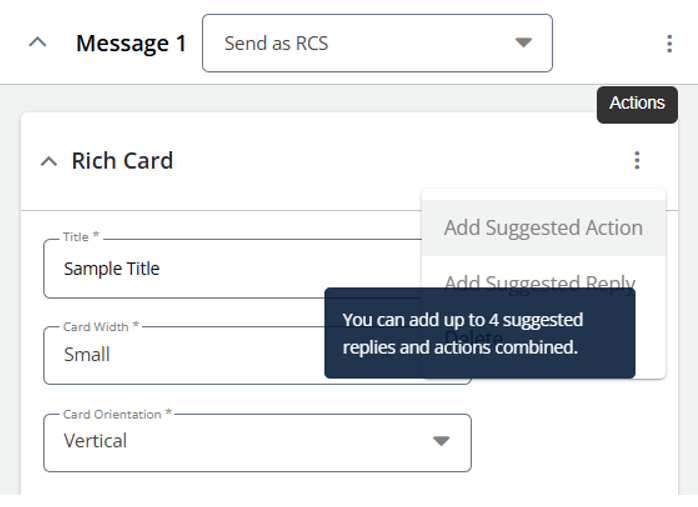
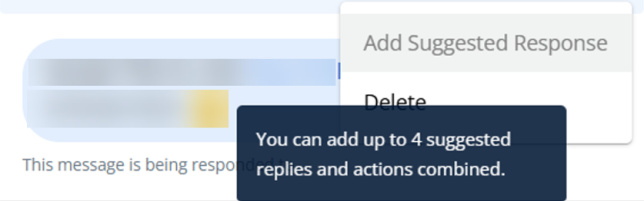
Note: From the Rich Card Actions ( ) menu, you can add up to four suggested replies and actions combined. You can select four actions, four replies, or two replies and two actions combined. The options for adding suggested action and suggested replies will be disabled once it reaches the maximum value. If you want to add more, consider deleting any of the selected action or replies. To delete a suggested response or reply, click the Actions ( ) menu, and select the Delete option.
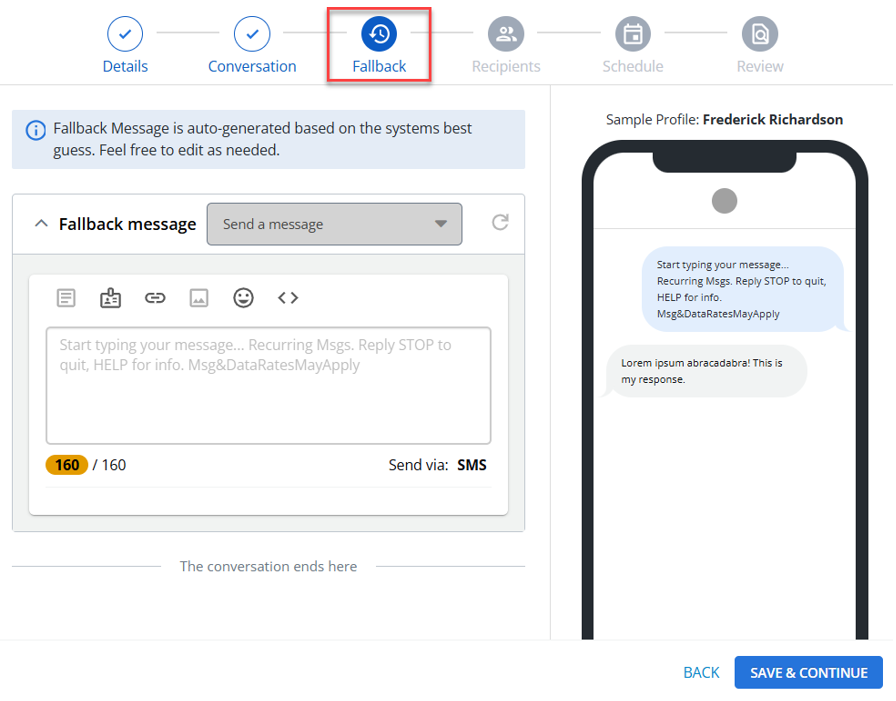
Select SAVE & CONTINUE to move to the next Fallback stepper. Select BACK to go back to the previous step.
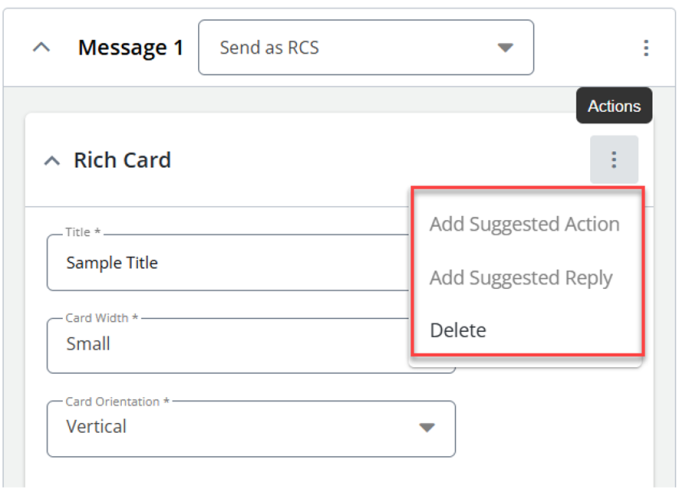
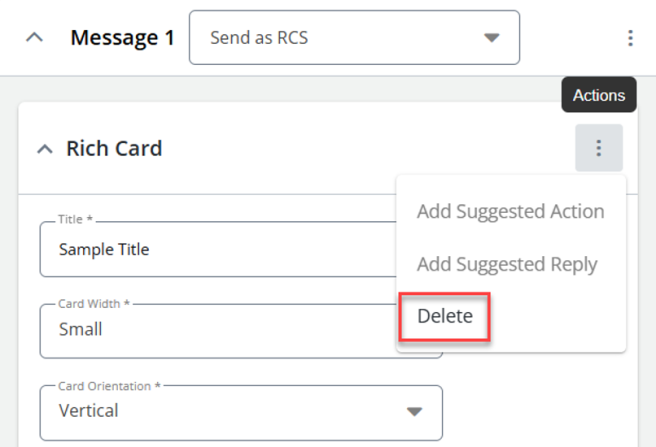
The following options are available in the Rich Card Actions menu:
menu:
• Add Suggested Action
• Add Suggested Reply
• Delete
Adding Suggested Actions to Rich Cards
You can now add Suggested Actions directly to Rich Cards in your RCS messages. Suggested Actions provide recipients with interactive options, such as opening a URL or dialing a phone number, enhancing engagement with your broadcast content. Use Suggested Actions when you want to make your Rich Card messages more interactive by guiding recipients toward a specific next step, such as visiting a webpage or contacting your organization.
To add a suggested action:
1. Select Rich Card, from the Rich Card Layout, select Add Suggested Action from the Actions menu.
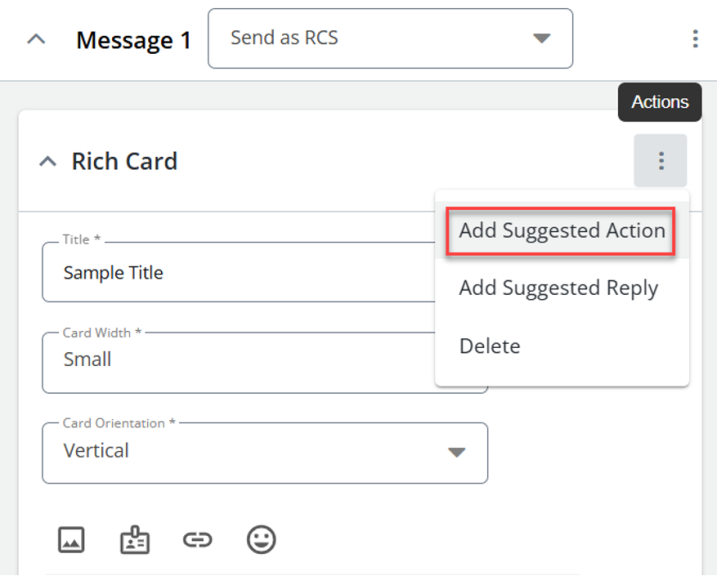
2. The Select Suggested Actions modal will open.
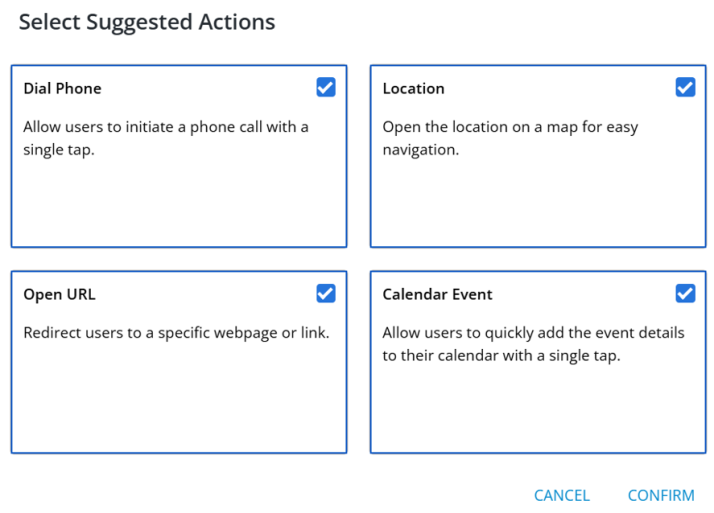
3. Choose the desired action type (for example, Open URL, Dial Phone) and provide the required details.
4. Click CONFIRM to add the action to your Rich Card.
After you confirm the action, it will appear directly below the Rich Card content in the Rich Card layout.
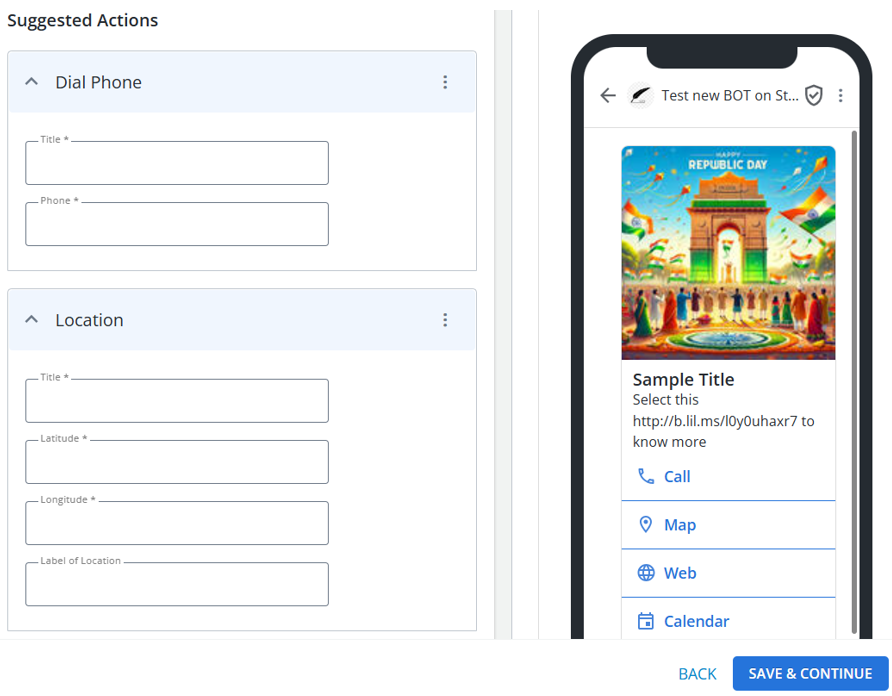
The added action(s) can be edited or removed individually. You can also rearrange actions, move up or move down to control the order they are shown in the message.
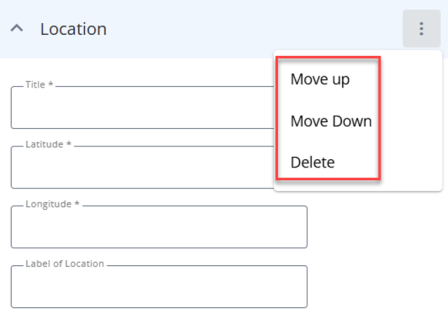
To delete a suggested action, click the Actionsmenu, and select the Delete option.
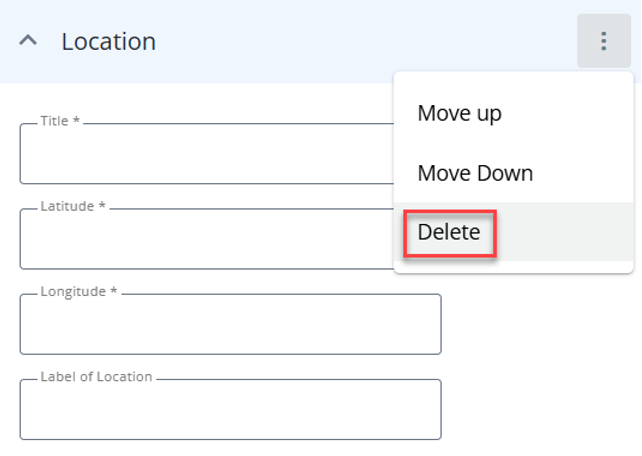
A confirmation message appears. Select YES, DELETE IT to confirm deleting the suggested action. Once confirmed, the suggested action will be permanently deleted.
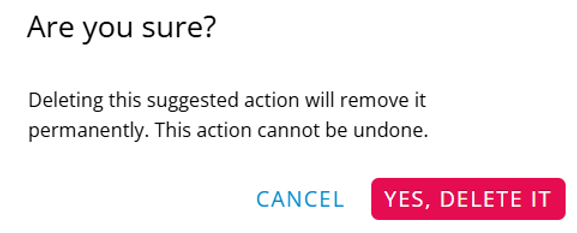
Select CANCEL to close the confirmation modal without deleting the suggested action.
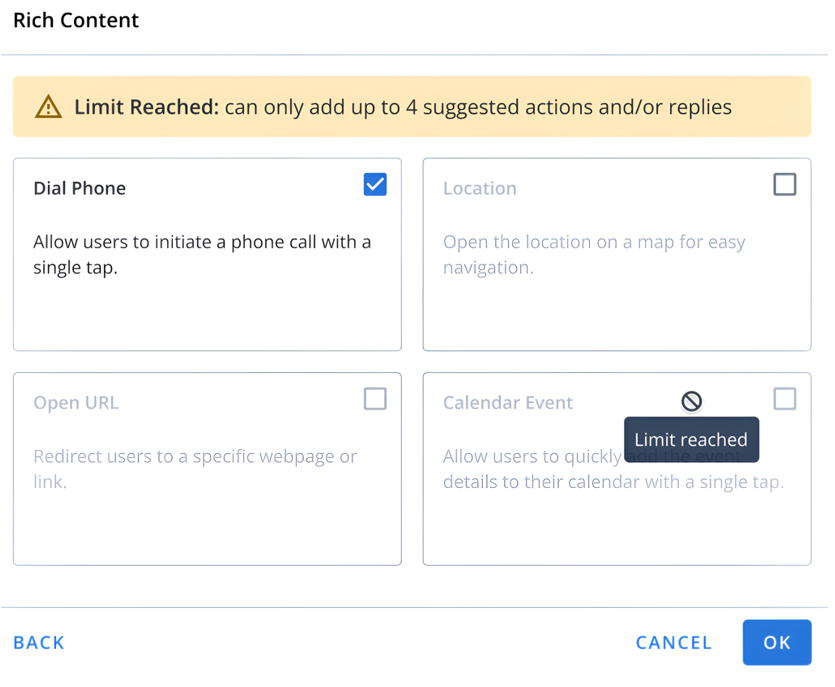
Note: You can add up to 4 suggested actions or replies in Rich Content. When you reach this limit, a tooltip appears at the top of the Rich Content modal with the message: “Limit Reached: you can only add up to 4 suggested actions and/or replies.” Additional options are disabled until you remove one or more of your selected actions.
Adding Suggested Replies to a Rich Card
You can add suggested replies directly within a Rich Card layout to provide recipients with pre-defined response options alongside rich content in RCS messages. This enhances message interactivity by allowing recipients to quickly select pre-defined responses related to the rich card content.
To add a suggested reply,
1. Select Rich Card, from the Rich Card Layout, select Add Suggested Reply from the Actionsmenu.
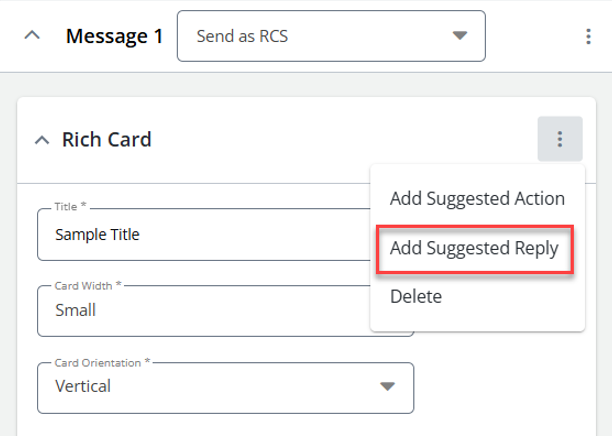
A layout for Suggested Reply will be available within the Conversation stepper.
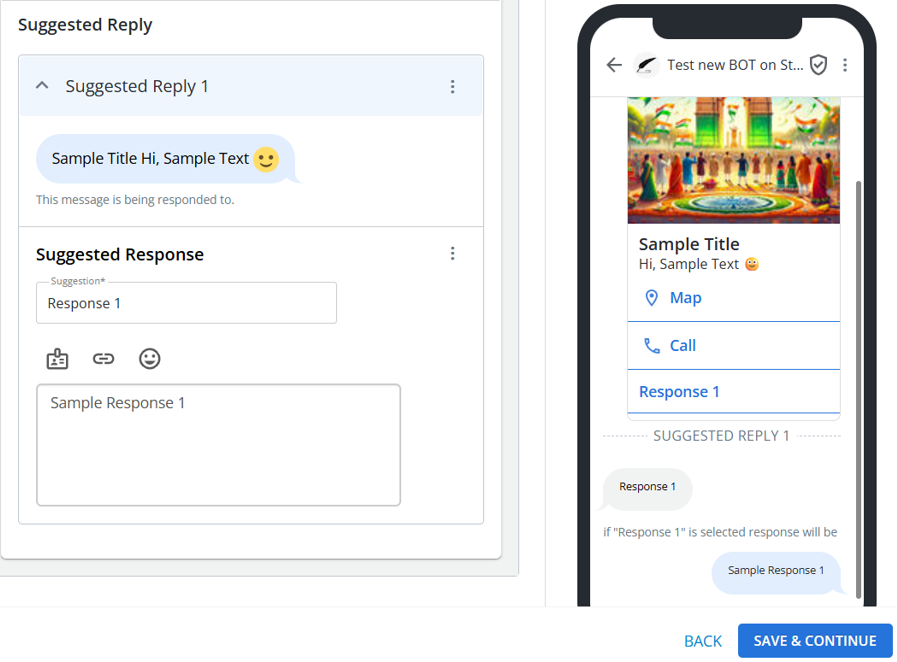
Note: You can add only four replies within the Rich Card layout.
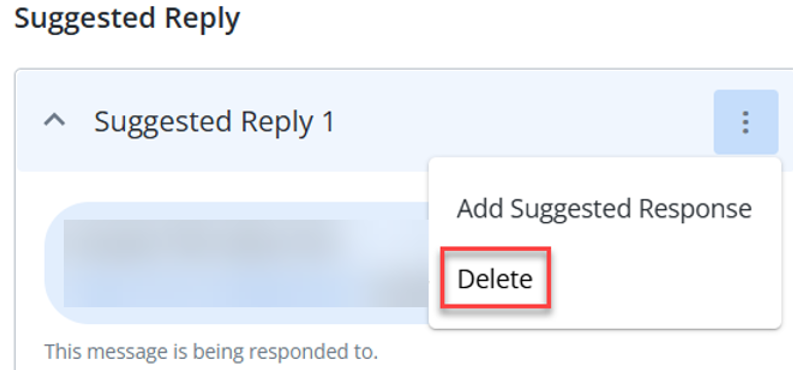
To delete a suggested reply, click the Actions menu, and select the Delete option.
A confirmation message appears. Select YES, DELETE IT to confirm deleting the suggested reply and remove all its associated responses. Once confirmed, the suggested reply will be permanently deleted.
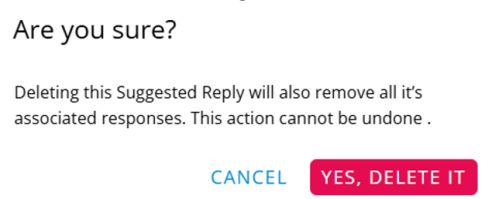
Select CANCEL to close the confirmation modal without deleting the suggested reply.
Deleting a Rich Card
To delete a Rich Card, select Rich Card, from the Rich Card Layout, select Delete from the Actions menu.
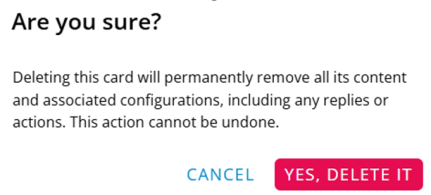
A confirmation message appears. Select YES, DELETE IT to confirm deleting the rich card. Once confirmed, the rich card will be permanently deleted.
Select CANCEL to close the confirmation modal without deleting the rich card.
Note: Deleting a rich card will permanently remove all its content and associated configurations, including any replies or actions. This action cannot be undone.
Sending Test for Rich Cards
You can use the “Send Test” feature for rich card messages to test how they appear on actual mobile devices before broadcasting, exactly as they behave in the live message.
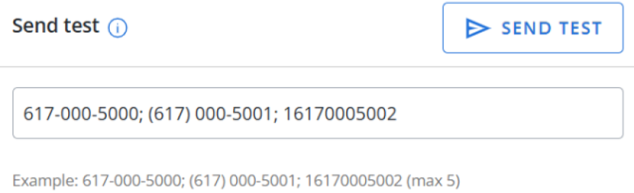
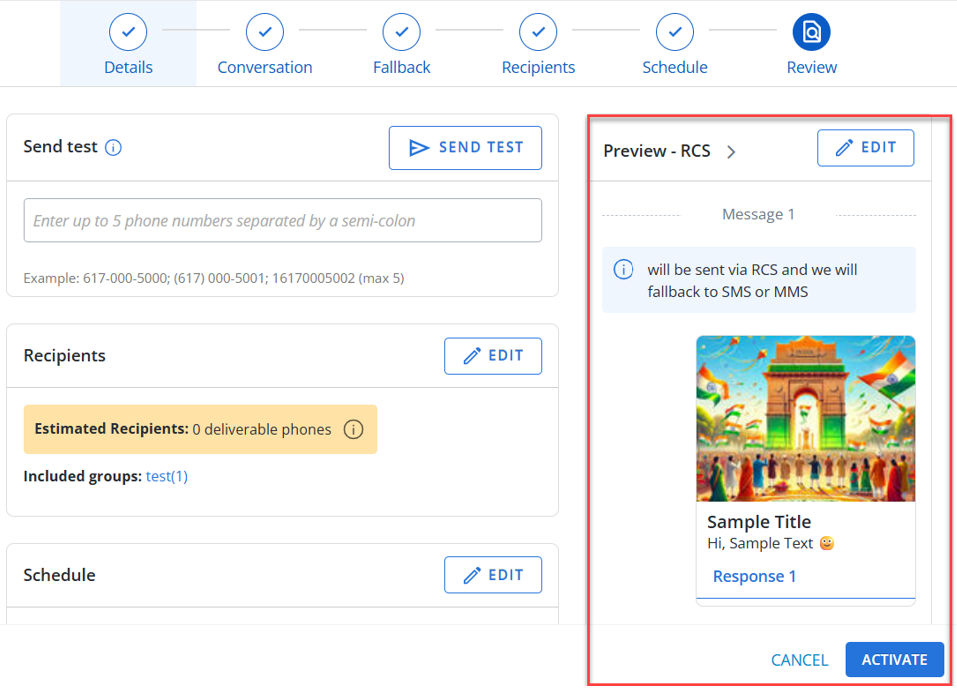
On the Review page, you can preview your RCS message in a Rich Card format.