File Submit+ Application
Introduction
The File Submit+ Application is a simple and user-friendly tool that allows you to upload files for solicitations with confidence. Before your file is used, the application automatically validates key details such as recipient, workflow, schedule, and other metadata. If there are any errors, you will be notified so that you can correct them before uploading the file again. This ensures that your data is accurate and complete, helping you avoid issues, save time, and manage solicitations smoothly and reliably.
Accessing File Submit+
1. From the main dashboard, open the application menu.
2. Select File Submit+ from the menu options.
3. Verify that the page header reads File Submit+.
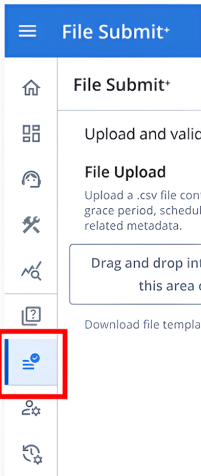
Note: File Submit+ replaces the former Campaign Manager. The new interface provides a streamlined, file-centric workflow dedicated to uploading and sending solicitation files.
Preparing Your Data
Downloading a CSV Template
To ensure your file has the correct format, we recommend starting with our template:
1. On the File Submit+ screen, locate and click the "Download file template here" link.
2. The template will download as a file named "sample_file-YYYY-MM-DD-HH-MM-SS.csv".
3. Open the template to see the required column structure.
The template must include required column headers:
-
Recipient
-
Workflow
-
Metadata
The template can include other column headers as well:
-
Grace
-
Schedule
-
Window
-
Priority
-
Reference
-
All visible Customer Fields (excluding Score, Multi-language and Unstructured Text fields).
Note: Do not alter the header names or their order. Save your file as UTF-8 encoded CSV before uploading.
Uploading and Validating Files
Uploading Your CSV
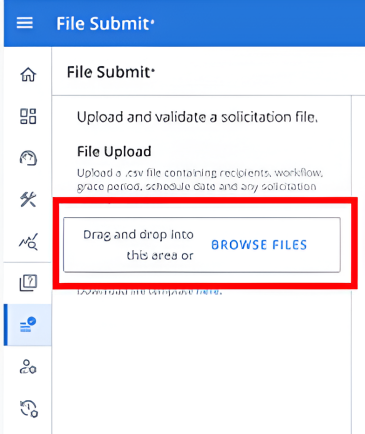
1. Click the "Browse files" button or drag and drop your file onto the designated area.
2. Your file must contain:
-
At least one data row.
-
One Metadata column.
-
The mandatory headers "recipient" and "workflow" to the left of Metadata.
If your file has critical structural problems (empty file, duplicate columns, extra columns left of Metadata, etc.), an error banner will explain why the file was rejected.
Understanding the File View
After a successful upload, your data appears in a grid format:
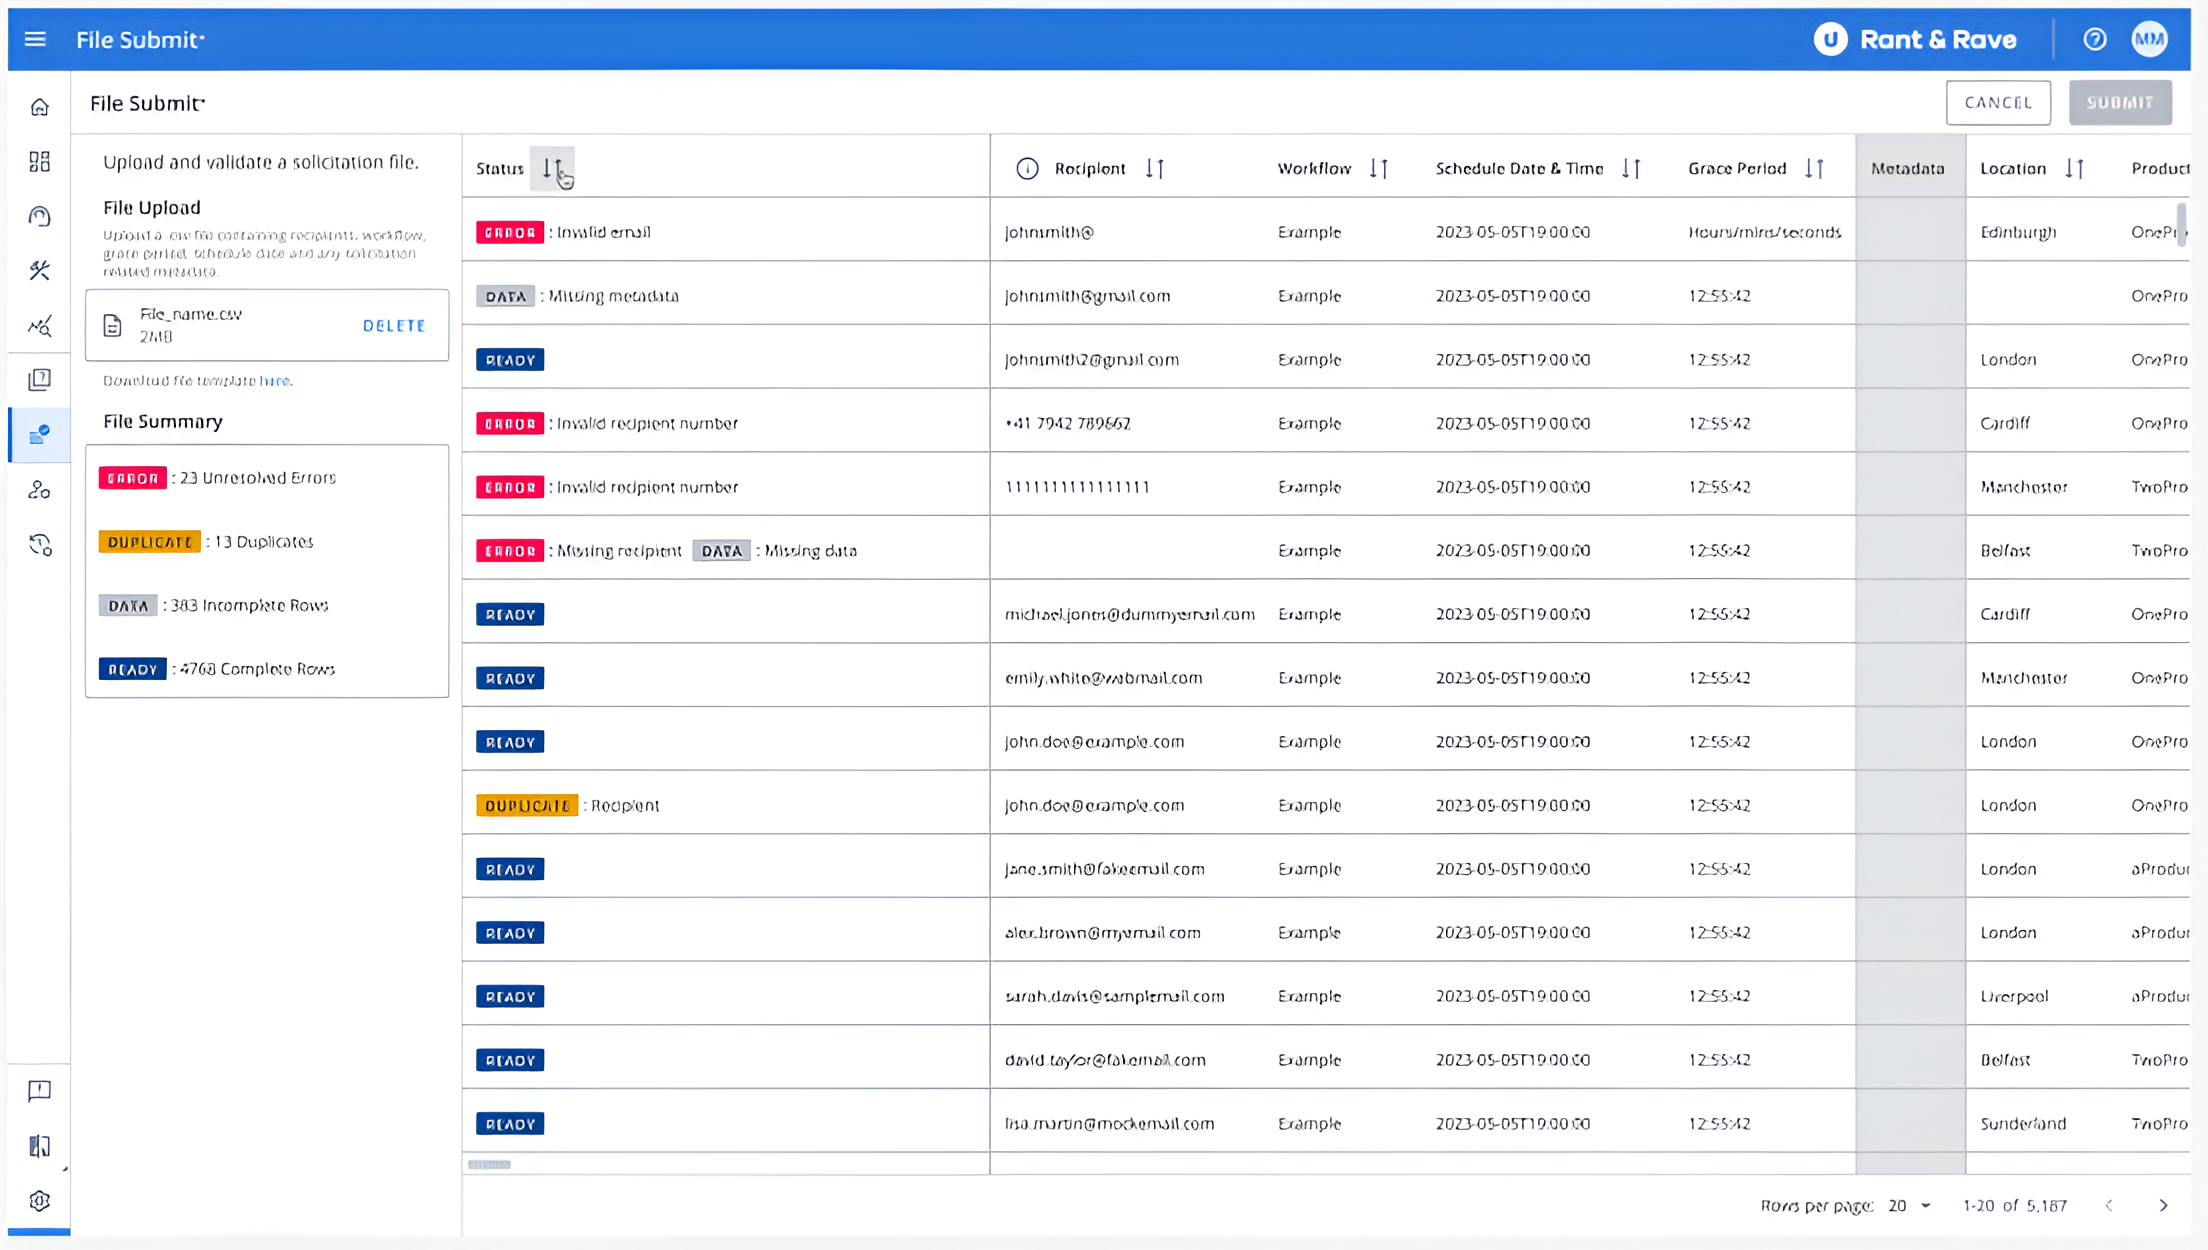
-
The Metadata column appears shaded gray and serves as a visual divider between campaign data (left) and customer-specific fields (right).
-
Column headers can be clicked to sort data.
-
Columns can be resized as needed.
-
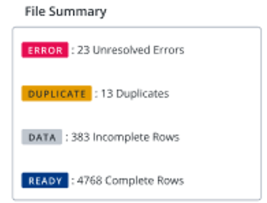
The File Summary panel on the left shows totals for each row status.
Validating and Fixing Errors
File Submit+ automatically validates your data and assigns a status to each row:
-
Error: Missing mandatory data or invalid format (shown in red).
-
Duplicate: Same recipient + workflow as another row.
-
Data (Incomplete Row): Optional fields missing, but otherwise valid.
-
Ready: Row is fully valid and ready for submission.
To fix validation issues:
1. In your original CSV file.
2. Correct issues in your source CSV, and re-upload.
Note: The Submit button remains disabled until all Error and Duplicate rows are resolved.
Submitting Your File
Once validation is complete and no Error or Duplicate rows remain:
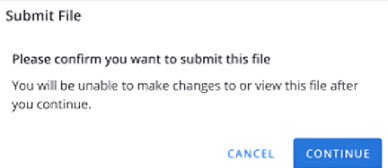
1. Click the Submit File button.
2. A confirmation banner will appear when your records are accepted.
3. Monitor downstream status in your usual solicitation reports in Discover if needed.

For any assistance with File Submit+, contact your Customer Success Manager or support team.