List Details report
To access a List Details report:
-
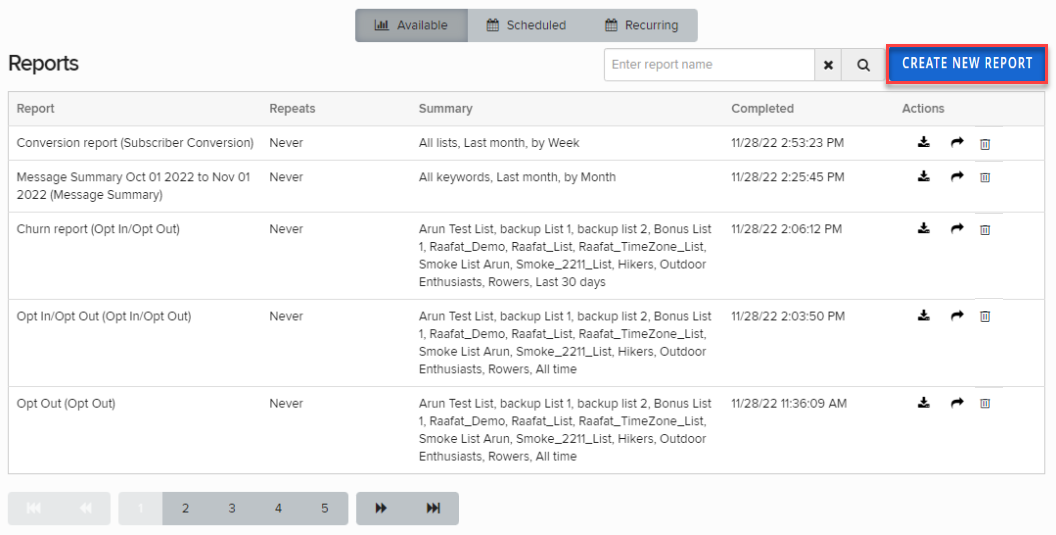
From the Reports menu, select Reports.
The Reports table lists the available reports.
-
Locate the report in the Available Reports table:
-
To search for the report, enter all or part of the campaign name in the Search box at the top of the table, and then select
 Search.
 -
To navigate a multipage Available Reports table, use the pagination bar at the bottom of the table.
-
-
To download an available report in CSV (comma-separated values) format, select
 Download and then select Open file to view the report in a spreadsheet program, such as Microsoft Excel.
The List Details report contains the following information:
-
Subscriber ID: Unique identifier for a mobile number
-
Mobile Number: Subscriber's mobile phone number
-
List name: The list of subscribers
-
List ID: The list identifier
-
Date Joined: Date and time when the subscriber joined the list
-
Trigger Name: The trigger, or keyword, used to opt in
-
Trigger ID: Unique identifier for the keyword used to opt in
-
MobileFlow: The campaign from which the subscriber joined the list
-
MobileFlow ID: Unique identifier for the campaign from which the subscriber joined the list
-
Area code: The subscriber's area code, derived from their mobile number
-
Carrier: The subscriber's mobile phone carrier or mobile provider
-
MSISDN: The subscriber's mobile phone number
-
State: The state where the subscriber lives, sometimes derived from their zip code
-
Timezone: The time zone where the subscriber is located, sometimes derived from the area code for their mobile number
Any other profile or custom metadata fields will also be exported and included in this report.
Note: You can also export a List Details report from the Lists Details page for a selected list. For more information, see Exporting a subscriber list.
Creating a new List Details report
-
From the Reports menu, select Reports.
-
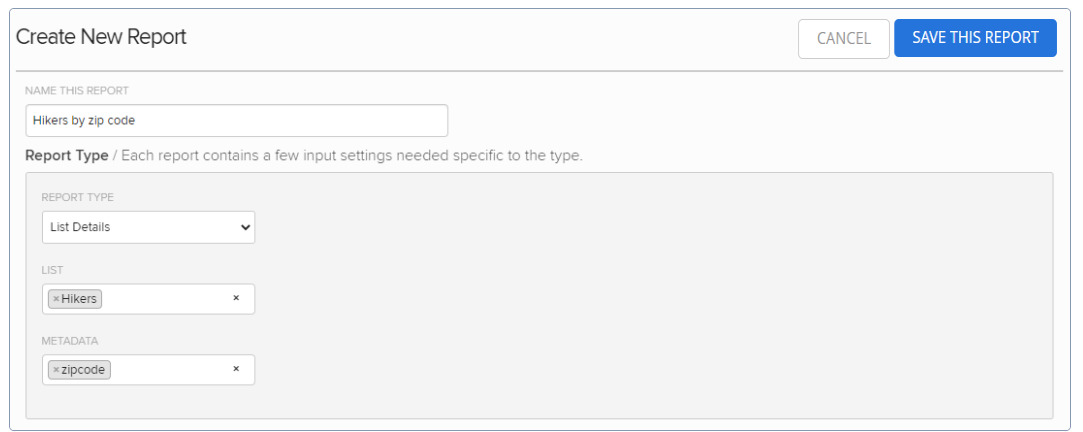
In the upper-right corner, select Create New Report.
-
On the Create New Report form, enter a descriptive name for the report.
-
From the Report Type drop-down list, select List Details.
-
From the List drop-down list, retain All or select one or more lists to populate the report.
-
To add another list, select the List field and select a list.
-
To remove a selection, select the List field and reselect it.
-
To clear your selections, select
 Delete.
-
-
From the Metadata dropdown list, select one or more profile fields to include in the report.

-
In the Report Timeframe section, select a preset time frame for your report data or add a custom time frame:
-
To select a custom timeframe, select Custom. Enter the start and end dates in MM/DD/YYYY format or select
 Calendar and select a date.
 Note: The end date is not included in the report.
-
-
In the Schedule section, select a date and time when the report will be built.
-
In the Frequency of Delivery section, select Never, Daily, Weekly, or Monthly.
Tip: Select Never to hold a report until you are ready to run it.
When the report is ready, it will be available from the Reports table. You can also email a copy directly to yourself or to other recipients.
-
(Optional) In the Recipients section, enter one or more email addresses, separated by a , (comma). Waterfall will send the report to these recipients when it is ready.
-
When you are done, select Save this Report.
The report is added to the Reports table according to its schedule and frequency settings.