Working with scheduled messages
Reviewing your messaging calendar
You can track your scheduled messages in the messaging calendar.
-
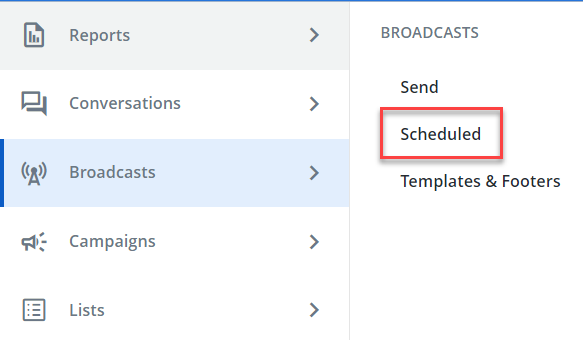
From the Broadcasts menu, select Scheduled:
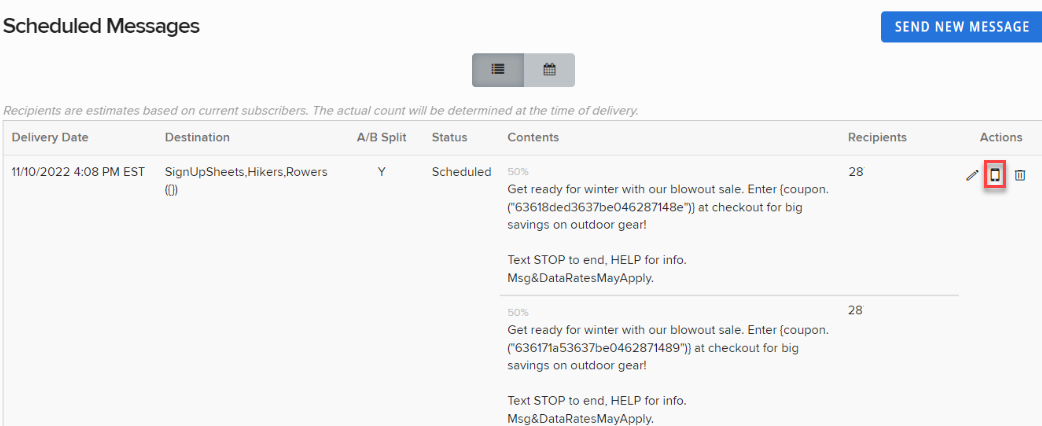
The Scheduled Messages table opens.
Scheduled Messages table
The Active Messages table contains the following information for each scheduled broadcast:
-
Delivery Date: The scheduled delivery date and time.
-
Destination: The lists or smart segments of subscribers who will receive the message.
Tip: Selecting the value in this column will navigate the user to the "Subscriber Status" page, which allows them to see which contacts have received or failed to receive the message.
-
Name: The name of the message file used in the broadcast (if any).
-
Status: The current status of the broadcast.
-
Contents: The content of the broadcast message, including both the subject and the message itself.
Note: In the case of A/B testing, the Contents column displays multiple messages and the percentage of recipients out of a total of 100%.
-
Recipients: The total number of subscribers that will receive the message.
-
Actions: Users can select
 Pause to temporarily pause the broadcast. When this occurs, the Broadcast will appear in the Inactive tab, where it can be resumed at any time. Also, users can select
  Cancel on either tab to cancel the rest of the throttling.
-
-
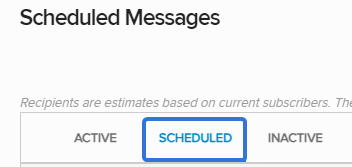
Select the Scheduled tab:
This will display the Scheduled Messages table:

 The Scheduled Messages tab
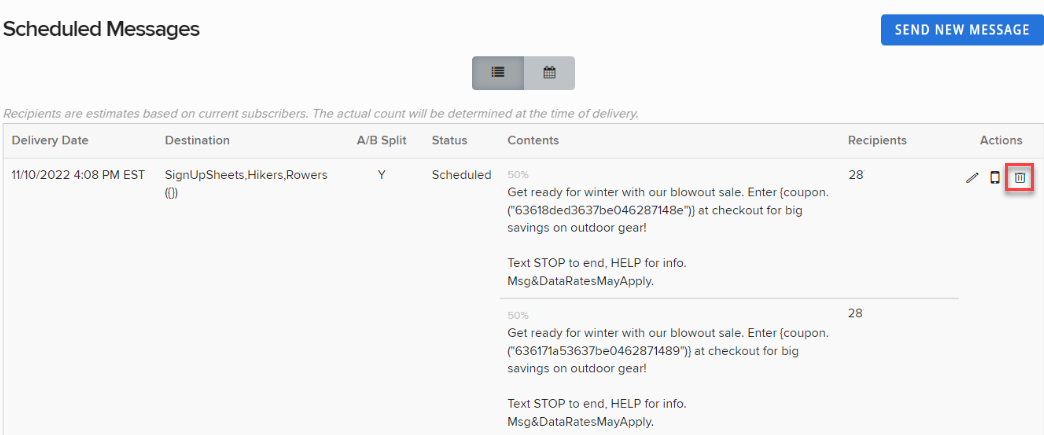
The Scheduled Messages table contains the following information for each scheduled broadcast:
-
Delivery Date: The scheduled delivery date and time.
-
Destination: The list(s) or smart segment(s) of subscribers who will receive the message.
-
Name: The name of the message file used in the broadcast (if any).
-
Status: The current status of the broadcast.
-
Contents: The content of the broadcast message, including both the subject and the message itself.
Note: In the case of A/B testing, the Contents column displays multiple messages and the percentage of recipients out of a total of 100%.
-
Recipients: The total number of subscribers that will receive the message.
-
Actions: Three actions are available for each broadcast:
-
Edit message: Edit the broadcast details. This will navigate the user back to the New Broadcast page.
-
Send test message: Send an internal text message to test the broadcast. Type the phone numbers you would like to send the test to in the textbox and separated them by commas:
-
Delete: Delete the broadcast. It will no longer be sent on the scheduled date and it will not be recoverable.
-
-
-
Above the table, select
 Calendar.
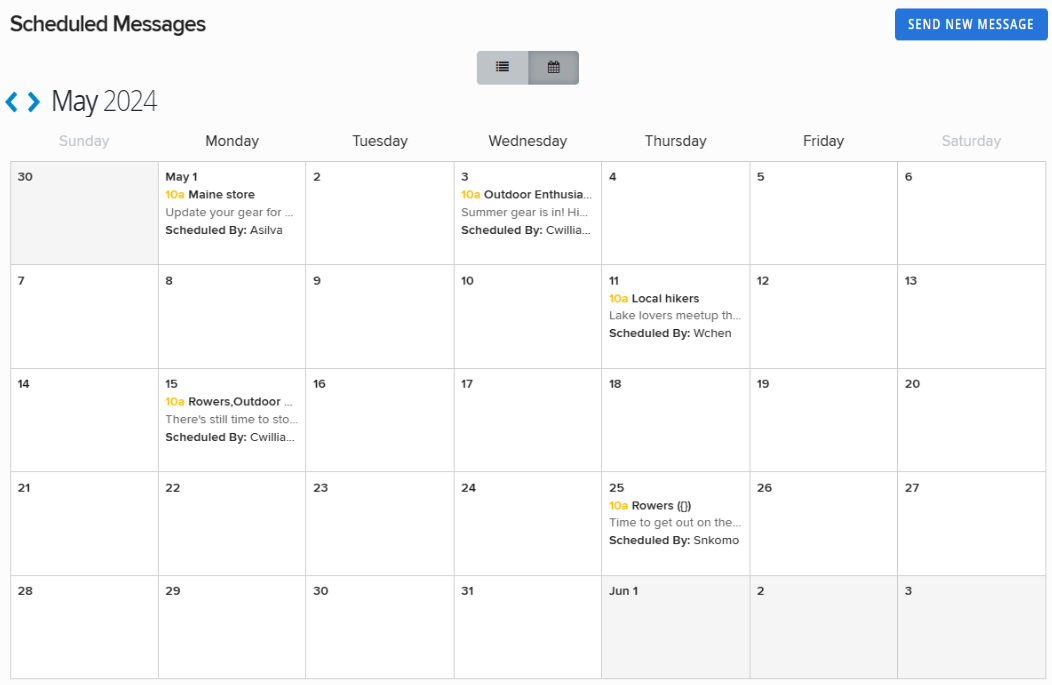
The calendar of scheduled messages opens to the current month.
-
To navigate the calendar, select
 Next month and
  Previous month.
 -
To return to the Scheduled Messages table, select
 List.
List.
Tip: To create a new broadcast from the Scheduled Messages table or the messaging calendar, in the upper-right corner of the page, select Send New Message. For more information, see Building a new broadcast.
Editing a scheduled message
To make changes to a scheduled message:
-
From the Broadcasts menu, select Scheduled.

-
Locate the message to edit in the Scheduled Messages table, and then select
 Edit message at the end of the row.
The broadcast page opens.
-
Review your broadcast message and make changes as needed. For more information, see Building a new broadcast.
-
When you are done, select Review Message to double-check your changes.
-
When you are satisfied with your message, select Send Now or Schedule.
Testing a scheduled message
To test a scheduled message before it is sent to subscribers:
-
From the Broadcasts menu, select Scheduled.
-
Locate the message to test in the Scheduled Messages table, and then select
 Send test message at the end of the row.
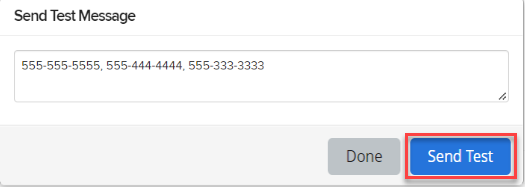
-
Enter one or more mobile numbers, separated by , (comma), and then select Send Test.
Note: If you are testing an A/B split broadcast, select a segment from the drop-down list, and then enter one or more mobile numbers, separated by , (comma). Select Send Test. Repeat this process for each segment in your broadcast.
-
When you see a notification that the test message has been sent, select Done.
Review your test message on your mobile device(s).
Deleting a scheduled message
To delete a scheduled message:
-
From the Broadcasts menu, select Scheduled.
-
Locate the message to remove from the Scheduled Messages table, and then select
 Delete at the end of the row.
Tip: If you are testing an A/B split broadcast, all of the messages will be deleted. To remove or replace individual messages in the broadcast, select
Edit message . -
Select OK to confirm.